I think one of the most common question that Chris and I get from non-thruhikers is "How do you get food?". The answer is some combination of grocery stores in trail towns and maildrops that I send him. Below are the basics of sending a maildrop.
How do you know where/when to send it? We maintain a spreadsheet on Google Drive listing for each maildrop: the address to send the box to, Chris' ETA, number of meals required, and any extra items that should be included (nail clippers, toothpaste, warmer clothes, new shoes, etc.). Chris can update this spreadsheet from the trail on his smartphone, so if he gets tired of a certain food or changes his plans, he can let me know.
How do you send it? I use USPS for all the shipping because Priority Mail offers forwarding services and many of the packages are held as general delivery at small-town post offices. The Postal Service has a pickup service such that I can print the postage at home, put it on the box, and leave it at my doorstep for the mail carrier to take - no post office visit necessary! Using the online shipping function actually gets you a discounted rate AND you get free tracking.
I use flat rate boxes because I don't have a big enough scale - the last two maildrops fit in medium flat rate boxes, but if/when I ship clothes or shoes, I'll likely need the large size. USPS claims that Priority Mail arrives in 3 business days, but I try to ship at least ten days before Chris' ETA just to be safe. I also try to personalize the box a bit with stickers/colorful markers so that it's easy to find at the post office or trail angel house. In addition to the address, I write the magic words "Please hold for PCT Hiker ETA [date]". This way the recipients don't throw out the package, leaving Chris hungry and sad.
What goes in it? Up to now (I just sent the second box to Agua Dulce today), I have only sent breakfast and dinner food. Today's maildrop, which will cover 5 dinners and 5 breakfasts, included:
2.75 cups Bob's Red Mill muesli (at ~0.5 c/meal, 2x the recommended serving on the label)
0.9 cups powdered skim milk (ratio of 1 part milk powder: 3 parts muesli)
5 Snickers bars
2.25 cups dehydrated bean flakes (0.75 c/meal; purchased in bulk)
5 oz corn chips (to eat with the bean flakes)
2 packages Idahoan butter and herb dried potatoes (Chris advises: "Idahoan is the only brand worth eating")
1 travel size toothpaste
4 pages long-form news stories (accumulated over the past three weeks, single-spaced, double-sided, small margins, size 8 font)
Each item is packed in a quart-size Ziploc bag. I usually throw in a few extra Ziplocs for good measure because Chris is always saying he doesn't have enough.
How much does it cost?
Obviously it varies, but here's what today's cost:
Shipping: $11.30 (discount online rate)
~ 1/2 bag muesli: $1.98
1 c powdered milk: $0.50
0.6 lb bean flakes @$5.39/lb: $3.72
chips: $0.99
2 packs Idahoan: $1.96
5 snickers: $3.40
toothpaste: $0.98
Total: $24.83
What about cookies? Doesn't Chris love cookies?
Yes, Chris does love cookies. When I send fresh baked goods, I send the box separately from the trail food and as close to the ETA as I can. I freeze the cookies/brownies/banana bread/whatever before I send it so it's fresh-ish when it arrives.
That, my friends, is how you send a maildrop.
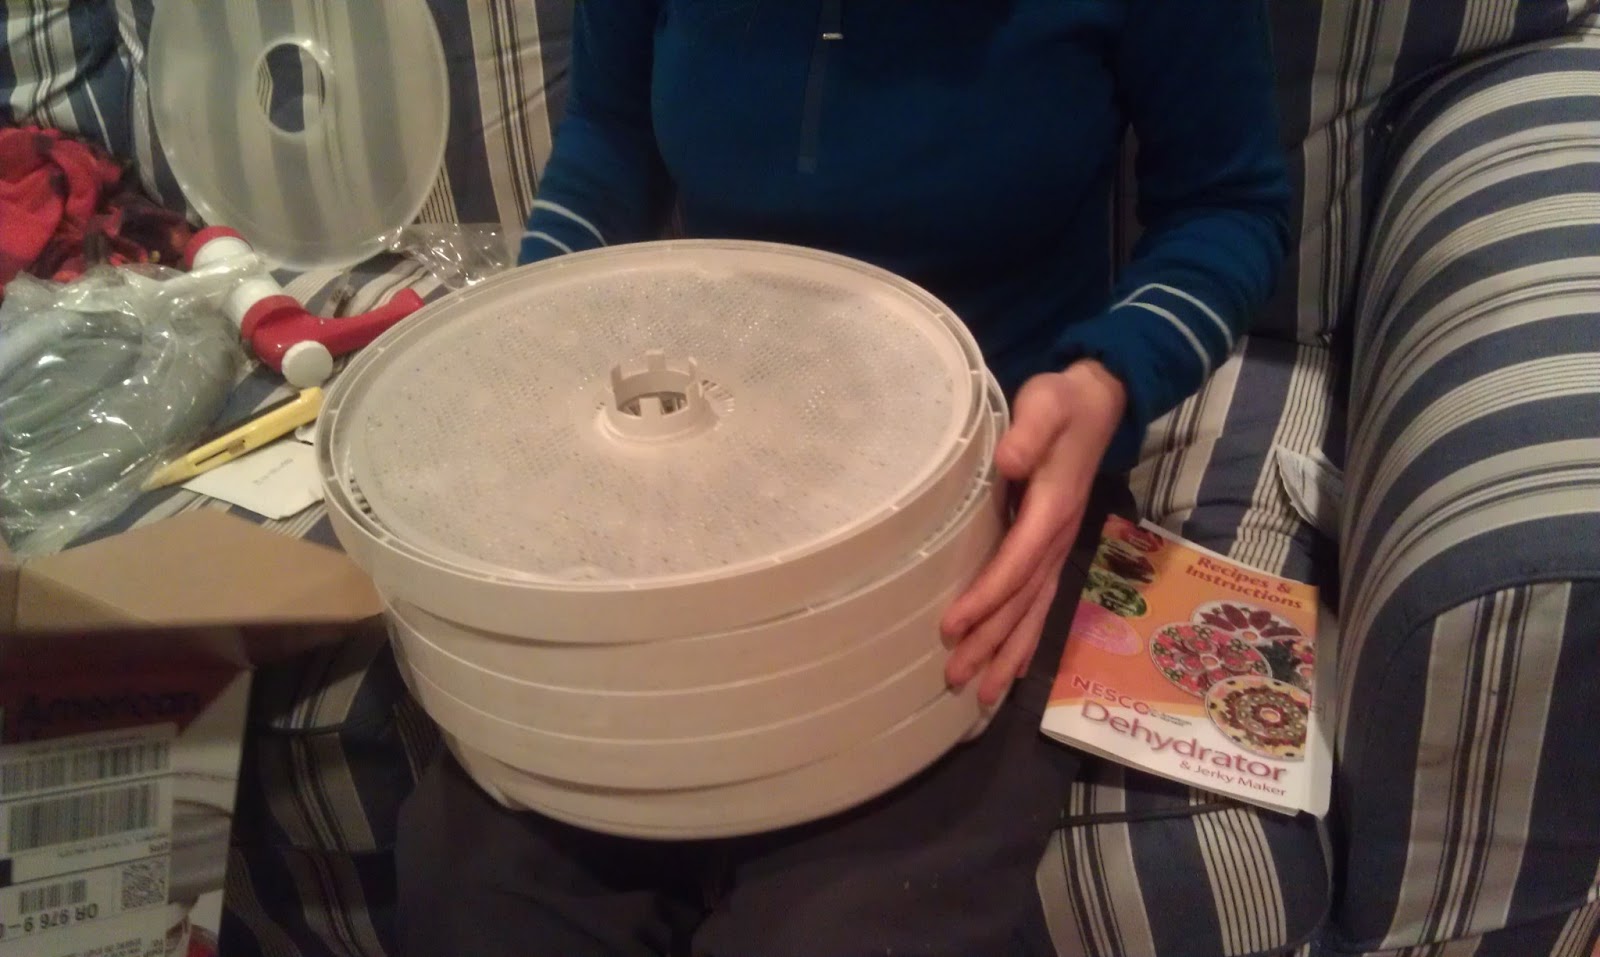
p.s. For those of you who read Chris' blog, you know that before leaving he made the decision to go stoveless, both for convenience and because this year has the potential to be one of the worst fire years on record. This means all his meals are rehydrated with cold water, sometimes in a short period of time before eating and sometimes in a longer period of time as he hikes. Though some dehydrated foods can be made this way (powdered soup, hummus, refried bean flakes, couscous, etc.), many staples that have a large volume-to-surface area ratio (noodles, rice) cannot. My focus has therefore, once again, shifted, now to powdered things, snacks (beef jerky), and sauces. Stay tuned for details of these endeavors.
How do you know where/when to send it? We maintain a spreadsheet on Google Drive listing for each maildrop: the address to send the box to, Chris' ETA, number of meals required, and any extra items that should be included (nail clippers, toothpaste, warmer clothes, new shoes, etc.). Chris can update this spreadsheet from the trail on his smartphone, so if he gets tired of a certain food or changes his plans, he can let me know.
How do you send it? I use USPS for all the shipping because Priority Mail offers forwarding services and many of the packages are held as general delivery at small-town post offices. The Postal Service has a pickup service such that I can print the postage at home, put it on the box, and leave it at my doorstep for the mail carrier to take - no post office visit necessary! Using the online shipping function actually gets you a discounted rate AND you get free tracking.
I use flat rate boxes because I don't have a big enough scale - the last two maildrops fit in medium flat rate boxes, but if/when I ship clothes or shoes, I'll likely need the large size. USPS claims that Priority Mail arrives in 3 business days, but I try to ship at least ten days before Chris' ETA just to be safe. I also try to personalize the box a bit with stickers/colorful markers so that it's easy to find at the post office or trail angel house. In addition to the address, I write the magic words "Please hold for PCT Hiker ETA [date]". This way the recipients don't throw out the package, leaving Chris hungry and sad.
What goes in it? Up to now (I just sent the second box to Agua Dulce today), I have only sent breakfast and dinner food. Today's maildrop, which will cover 5 dinners and 5 breakfasts, included:
2.75 cups Bob's Red Mill muesli (at ~0.5 c/meal, 2x the recommended serving on the label)
0.9 cups powdered skim milk (ratio of 1 part milk powder: 3 parts muesli)
5 Snickers bars
2.25 cups dehydrated bean flakes (0.75 c/meal; purchased in bulk)
5 oz corn chips (to eat with the bean flakes)
2 packages Idahoan butter and herb dried potatoes (Chris advises: "Idahoan is the only brand worth eating")
1 travel size toothpaste
4 pages long-form news stories (accumulated over the past three weeks, single-spaced, double-sided, small margins, size 8 font)
Each item is packed in a quart-size Ziploc bag. I usually throw in a few extra Ziplocs for good measure because Chris is always saying he doesn't have enough.
How much does it cost?
Obviously it varies, but here's what today's cost:
Shipping: $11.30 (discount online rate)
~ 1/2 bag muesli: $1.98
1 c powdered milk: $0.50
0.6 lb bean flakes @$5.39/lb: $3.72
chips: $0.99
2 packs Idahoan: $1.96
5 snickers: $3.40
toothpaste: $0.98
Total: $24.83
What about cookies? Doesn't Chris love cookies?
Yes, Chris does love cookies. When I send fresh baked goods, I send the box separately from the trail food and as close to the ETA as I can. I freeze the cookies/brownies/banana bread/whatever before I send it so it's fresh-ish when it arrives.
That, my friends, is how you send a maildrop.
p.s. For those of you who read Chris' blog, you know that before leaving he made the decision to go stoveless, both for convenience and because this year has the potential to be one of the worst fire years on record. This means all his meals are rehydrated with cold water, sometimes in a short period of time before eating and sometimes in a longer period of time as he hikes. Though some dehydrated foods can be made this way (powdered soup, hummus, refried bean flakes, couscous, etc.), many staples that have a large volume-to-surface area ratio (noodles, rice) cannot. My focus has therefore, once again, shifted, now to powdered things, snacks (beef jerky), and sauces. Stay tuned for details of these endeavors.